Create An Email Template
TIME STAMPS:
Overview || 0:00 – 3:13
WYSIWYG Email Template || 3:14 – 13:26
Drag n Drop Email Template || 13:27 – 25:21
Import Email Template || 25:22 – 28:07
Email Template Marketplace || 28:08 – 29:54
Email Template Hack
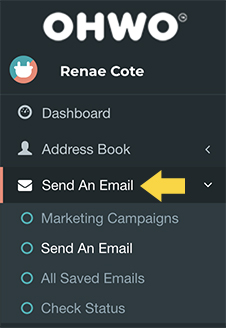
Click “Send An Email” Within Your Send An Email Left Side Menu
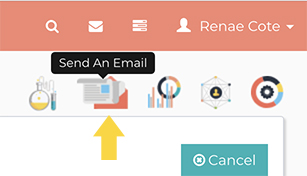
Or you can click the ‘Send An Email’ icon at the top right menu.
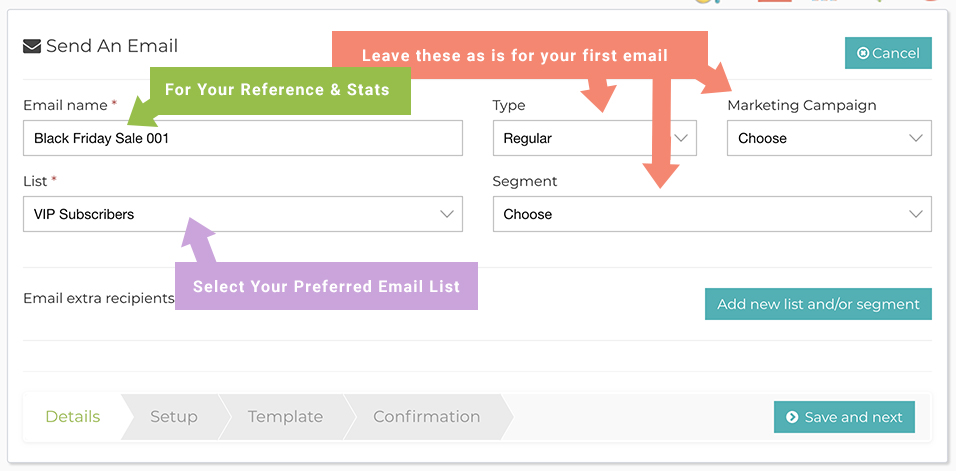
Add Email Details
Add an Email name for future reference.
Select your preferred email list.
Click Save and next.
Add Your Name, Domain Email & Subject Line

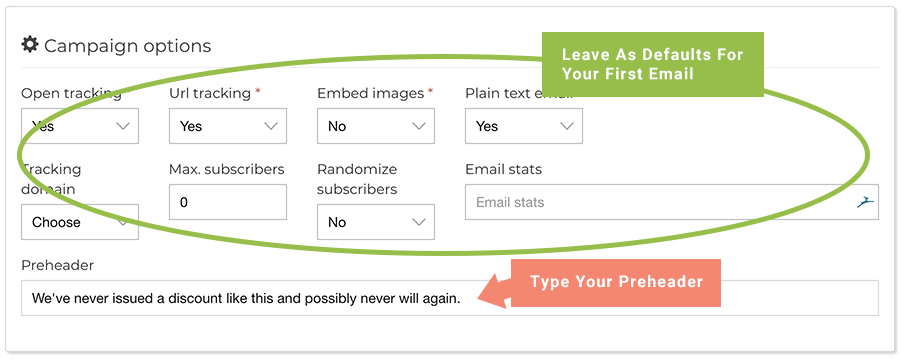
Type a Preheader
A preheader is the short summary text that follows the subject line when an email is viewed in the inbox. Many mobile, desktop and web email clients provide them to tip you off on what the email contains before you open it.
Design Your Email
Leave the ‘plain text’ default settings alone for your first email.
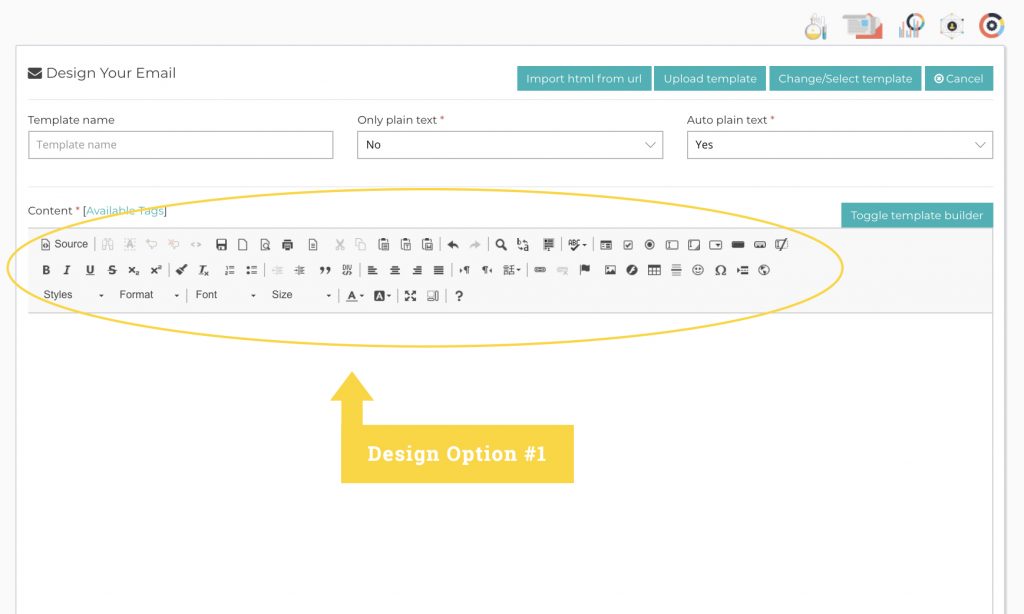
Use the WYSIWYG Editor as Design Option #1.
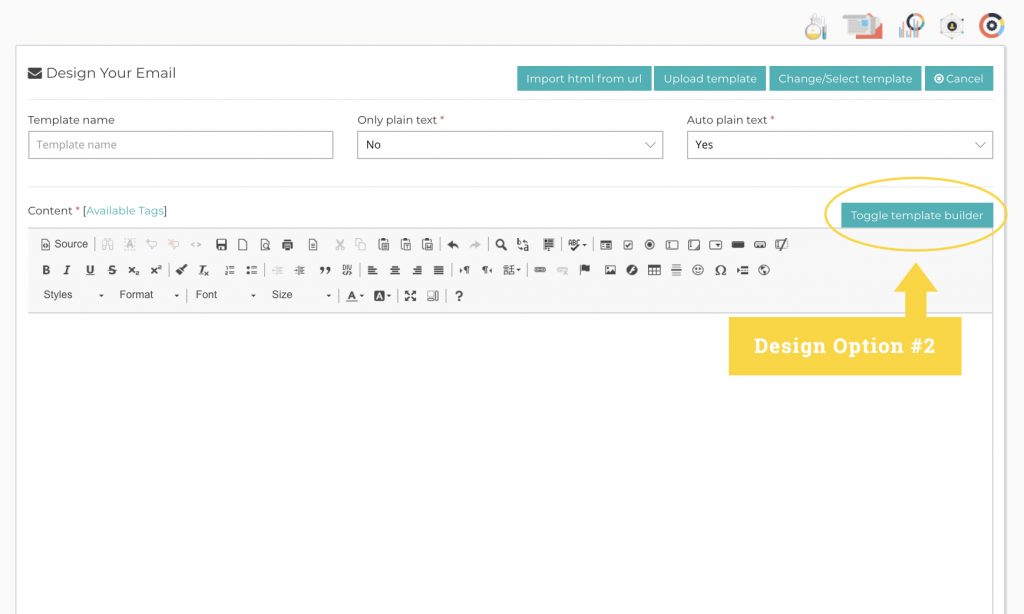
Or, Click ‘Toggle Template Builder” as Design Option #2.
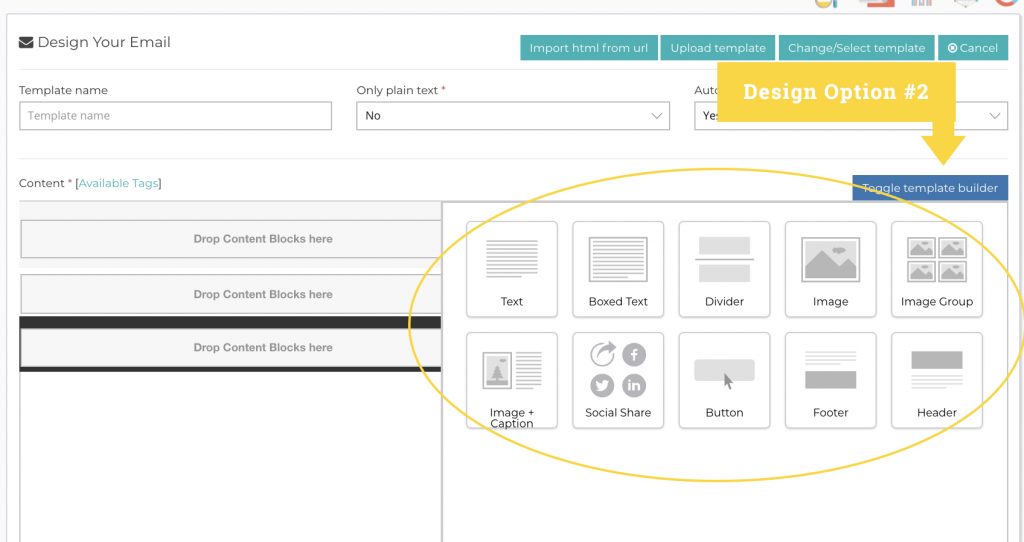
Drag and Drop Different Elements Into your Content Blocks
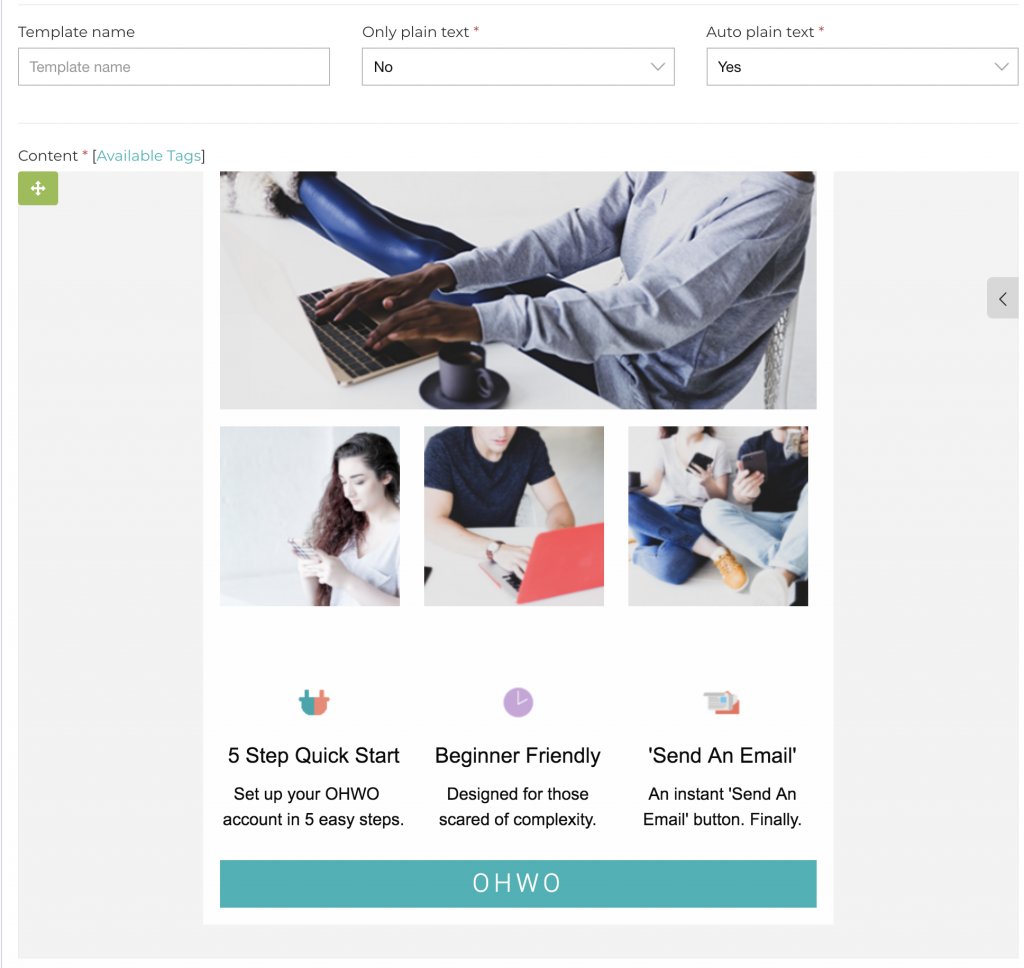
OHWO Example:
Add Your Footer
Using the Drag n Drop editor? Follow Footer #2 Instructions below.
You are required to add your company address and an unsubscribe link to the bottom of your emails. You have 2 ways of doing this.
Footer #1 Instructions.
Using the WYSIWYG Editor:
Copy and paste the following into the bottom of your email:
Our mailing address is:
Copyright © [CURRENT_YEAR], All rights reserved.
[COMPANY_FULL_ADDRESS],
[LIST_FROM_EMAIL]
Want to change how you receive these emails?
Update Profile | Unsubscribe
Next, turn ‘Update Profile’ and ‘Unsubscribe’ into embedded links:
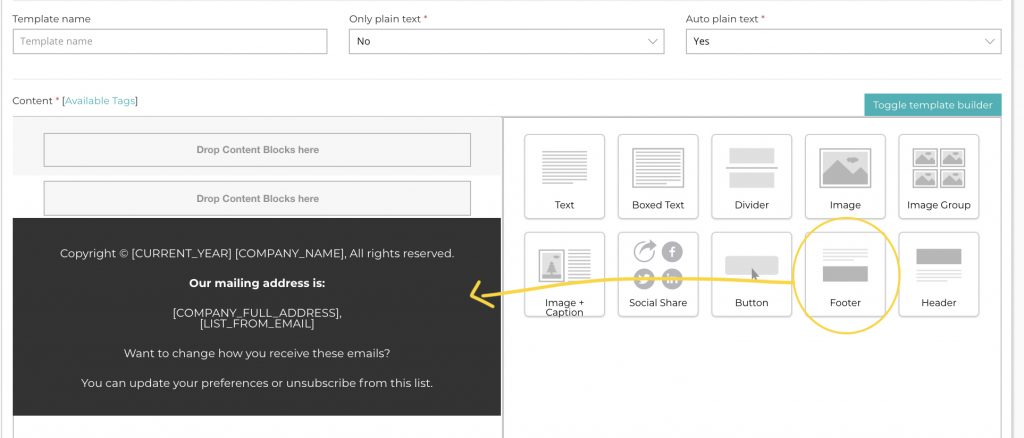
Footer #2 Instructions.
Using the Drag n Drop Editor
After you’re finished designing, click ‘Save and next’ button.
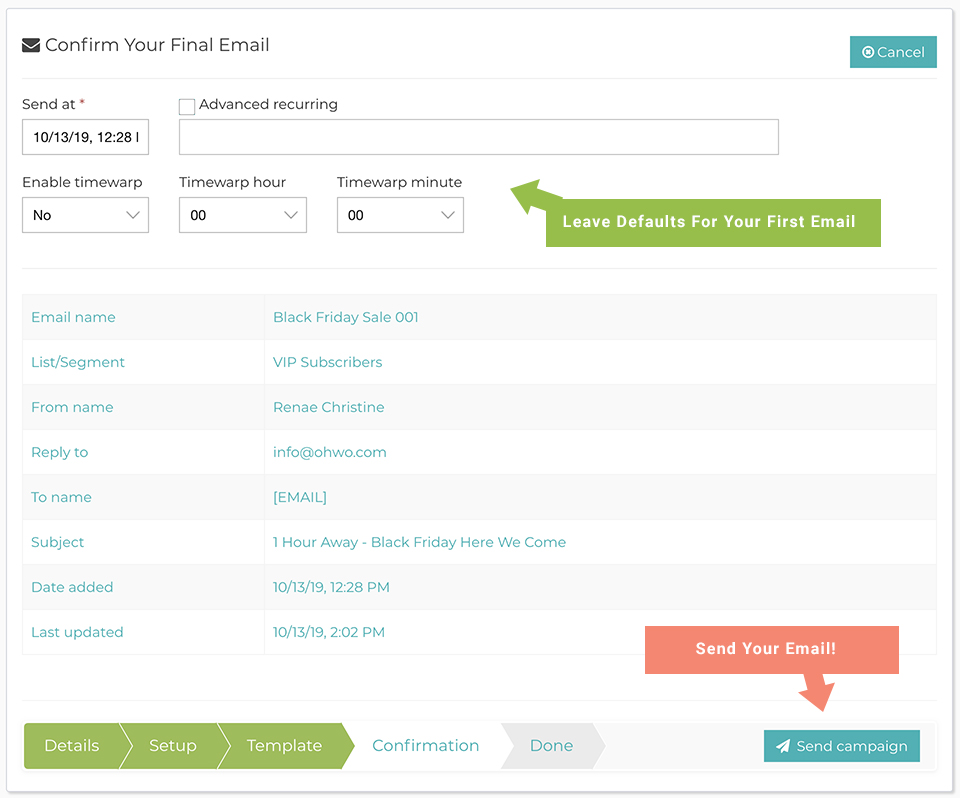
Review and Click to Send
Success! Now you can enjoy sending as many emails as you like!
