
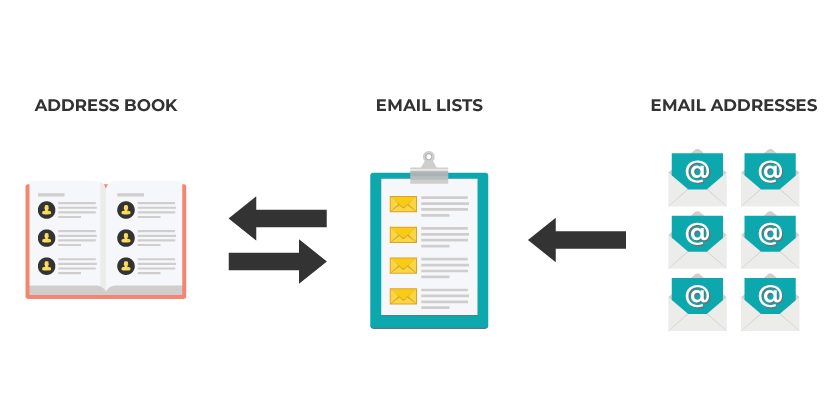
What is an Address Book?
OHWO’s Address Book holds all of your Email Lists.

All of your Email Lists hold all of your Customer’s Email Addresses.
Why Would Someone Want Multiple Lists in One Address Book?
Different lists can accomplish different objectives. One list might be intended for cold audiences that need to be warmed up so they can get to know you. One list might be for advanced customers who want to hear from you every day.
Let’s Get Started
Video Version – Tutorial – Create Your List
Screenshot Version – Tutorial – Create Your List
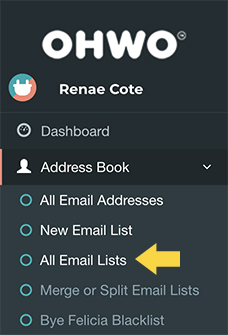
Open ‘Address Book’ in Your Left Side Menu
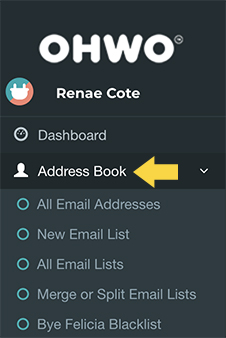
All we need to do now is make your first Address Book List or Email List.
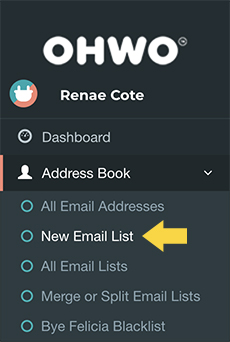
Click New Email List in Left Side Menu
Add General Data About Your List
The ‘Name’ section is for your reference.
The list ‘Description’ area, your email subscribers will end up seeing.
The list ‘Description’ area, your email subscribers will end up seeing.
We suggest choosing ‘single opt-in.’
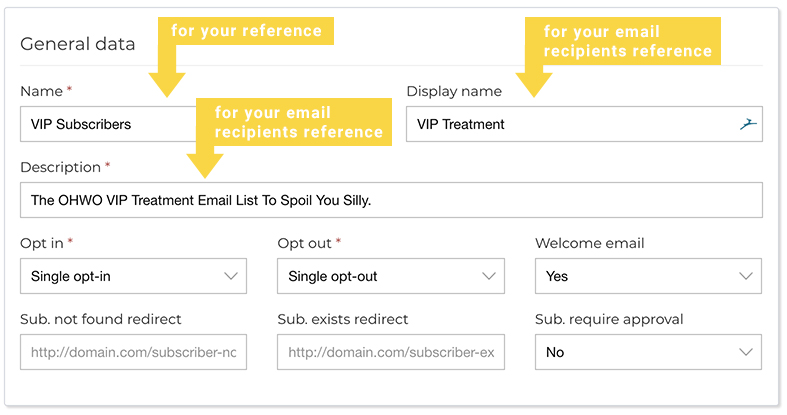
If you choose ‘Yes’ for your Welcome email, you’ll need to create that email after you create your list. See the welcome email related article below.
Add Default Settings

Notification Settings
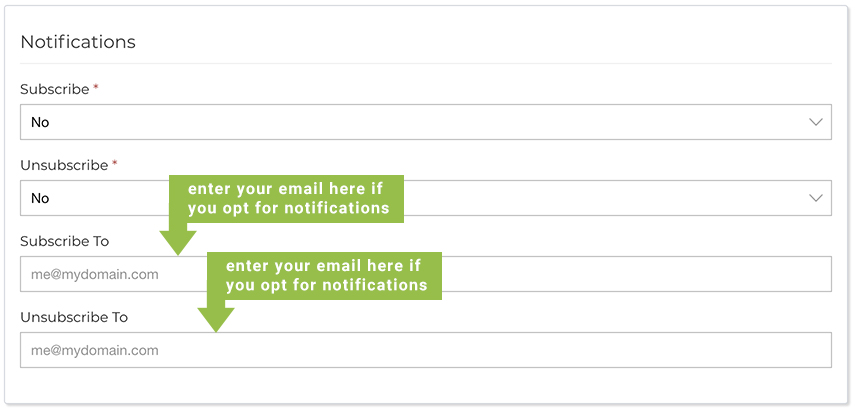
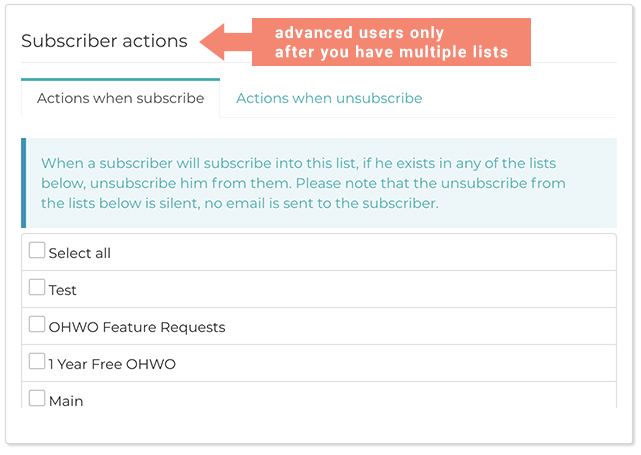
Subscriber Action Settings
*Optional. For advanced users only. We recommend leaving the default settings on your first list.
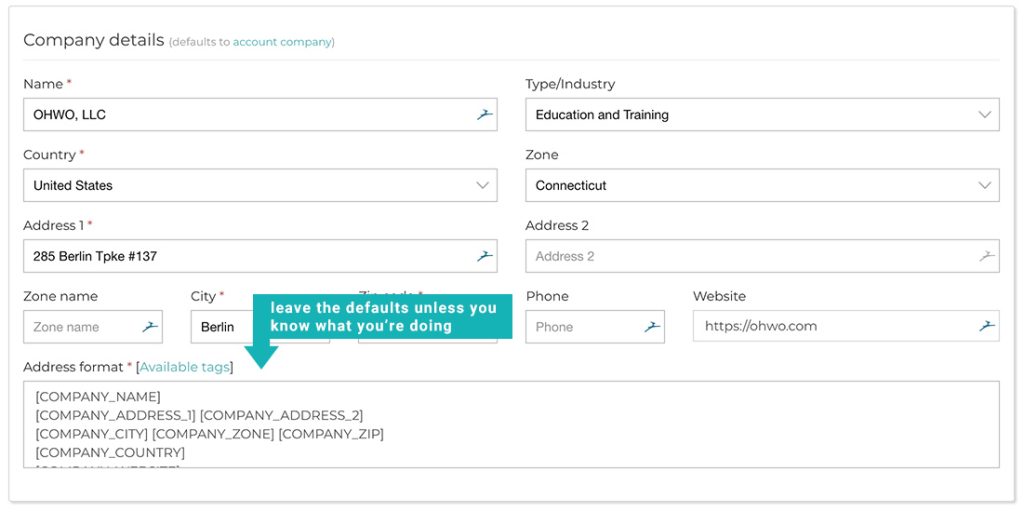
Company Information Settings
Due to legal things, we must require an address to go with your email list. You can use your home address, business address or even a po box address.
Save Your New List

Now that we’ve made your Address Book List or Email List, we can migrate your customer list to it. To do this, we will need to:
- Export Your Email List From Your Old Provider
- Import Your Email List Into The OHWO List You Just Created
Export Email List From Old Provider
You’ll need a csv file with the email addresses you want to import.
Include headers when exporting.
- Export Mailchimp Email List
- Export Drip List
- Export ConvertKit List
- Export MailerLite List
- Export GetResponse List
- Export ActiveCampaign List
- Export Maropost List
- Export Benchmark List
- Export SendInBlue List
- Export Newsletter2go List
- Export Omnisend List
- Export SendGrid List
- Export ZoHo List
- Export AWeber List
- Export ConstantContact List
- Export InfusionSoft List
- Export Keap List
- Export HubSpot List
- Export Campaigner List
- Export Pardot List
Import CSV From Previous Email Service Software
Not sure how to export your email list from your previous email software? See related articles below.
Click All Email Lists in Menu
Find The Import Button to the Right of Your List
You’ll may need to scroll through to find the buttons.
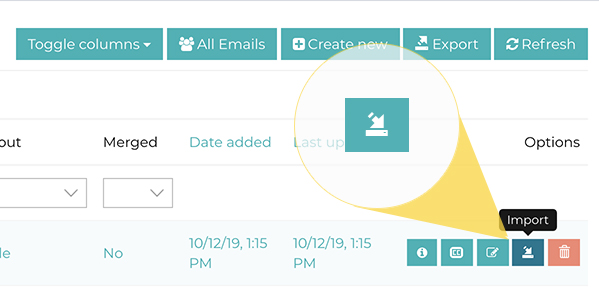
Click CSV in Available Options

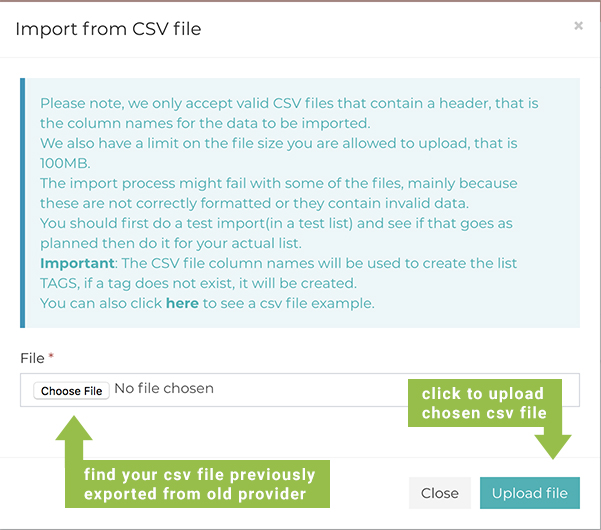
Choose CSV File and Click Upload
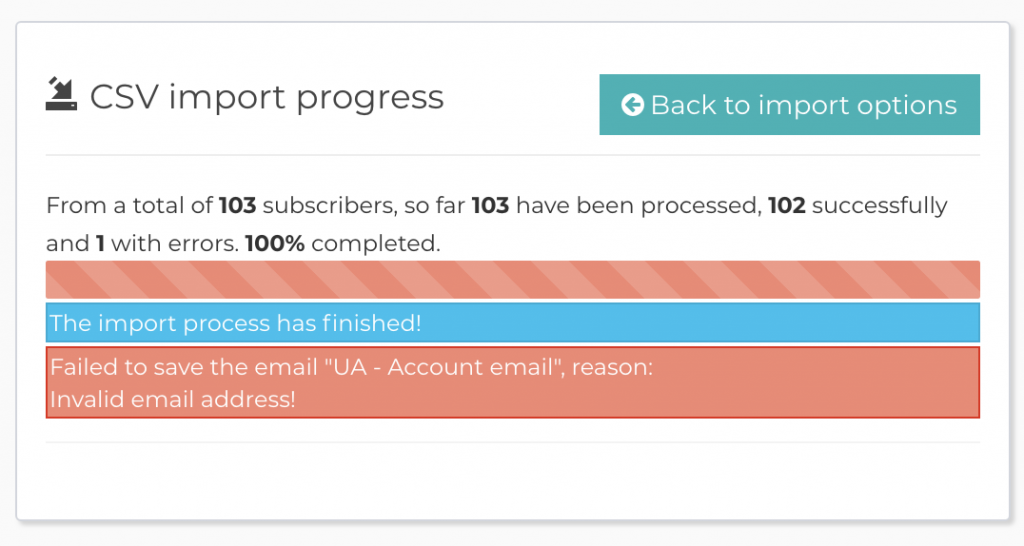
After Importing, You Should See A Success Message
The importer won’t add any emails to your list that won’t be of any use to you.
Success! Next, you’ll need to create your first sign up form for future customers who want to join your email list. See related articles below.